
In the realm of networking, Ethernet switches play a pivotal role in facilitating efficient data transfer within local area networks (LANs). The 1783-US8T Ethernet Switch, manufactured by Allen-Bradley, stands out as a reliable solution for industrial automation and networking needs. This step-by-step guide aims to assist users in the seamless installation of the 1783-US8T Ethernet Switch, ensuring smooth integration into their network infrastructure.
Pre-Installation Preparations
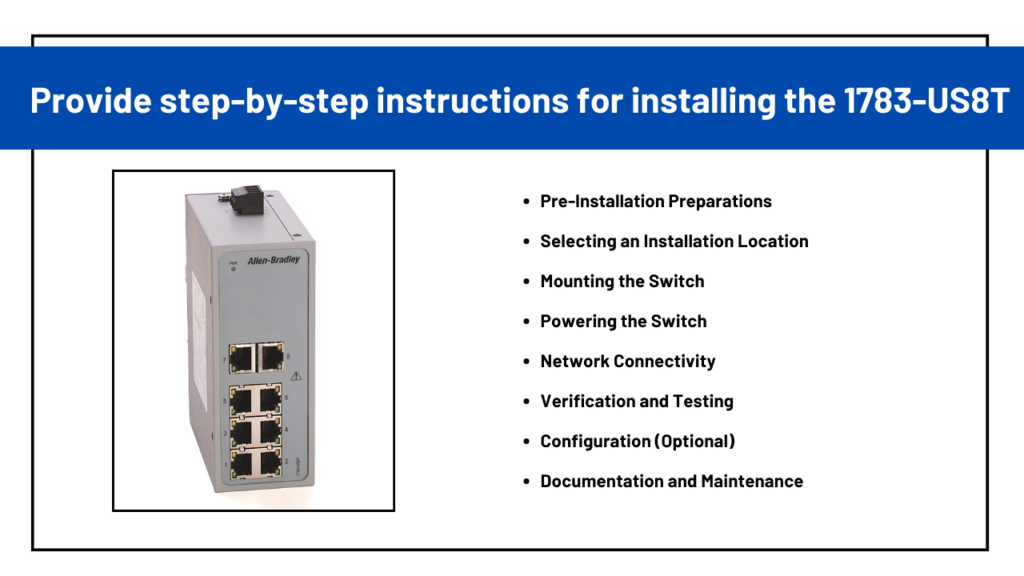
- 1783-US8T Ethernet Switch unit
- Power adapter or power supply (if not included)
- Ethernet cables
- Mounting hardware (if wall-mounting)
- Screwdriver and necessary mounting tools
- Ensure that the installation location complies with environmental specifications, such as temperature and humidity requirements, to guarantee optimal performance and longevity of the switch.
Selecting an Installation Location
Choose a suitable location for mounting the Allen Bradley 1783-US8T Ethernet Switch. Factors to consider include accessibility, ventilation, and proximity to power sources and network devices. Ideally, opt for a secure and well-ventilated area away from potential hazards and environmental extremes.
Mounting the Switch
- Use the provided mounting template to mark the positions for drilling screw holes on the wall.
- Drill the holes according to the markings, ensuring they align with the mounting slots on the switch.
- Securely mount the switch onto the wall using appropriate screws and mounting hardware.
Powering the Switch
Connect the power adapter or power supply to the 1783-US8T Ethernet Switch and plug it into a reliable power source. Ensure that the voltage rating of the power supply matches the specifications outlined in the switch’s documentation to prevent damage.
Network Connectivity
Connect Ethernet cables from the network devices (e.g., computers, printers, servers) to the available Ethernet ports on the switch. Use high-quality cables of appropriate length to maintain signal integrity and minimize interference.
Verification and Testing
Once all connections are established, power on the switch and verify that the LED indicators illuminate accordingly, indicating proper power and network connectivity. Utilize network diagnostic tools to ensure that data transfer is functioning as expected and that all connected devices can communicate effectively.
Configuration (Optional)
Depending on the specific network requirements, further configuration of the 1783-US8T Ethernet Switch may be necessary. Access the switch’s management interface using a web browser or dedicated software to configure settings such as VLANs, port mirroring, Quality of Service (QoS), and security features.
Documentation and Maintenance
Keep thorough documentation of the switch installation, including the location, configuration settings, and any relevant network diagrams. Implement a regular maintenance schedule to inspect the switch for any signs of wear, dust accumulation, or potential issues, ensuring continuous reliability and performance.
By following these step-by-step instructions, users may successfully install and integrate the 1783-US8T Ethernet Switch into their network infrastructure, bolstering data transfer efficiency and network connectivity within industrial and automation environments.
Asteam Techno Solutions Pvt Ltd will assist you with arranging routine maintenance for the Rockwell Automation Micro800 PLC. We have a staff of skilled experts and an inventory of outdated and excess replacement parts, so we can solve any breakdown or malfunction. Asteam Techno systems Pvt Ltd is the world’s leading provider of industrial automation components and systems, both in India and internationally. Receive assistance with any kind of equipment, including servo drives, AC and DC power supplies, PLCs, HMIs, and other automation components.